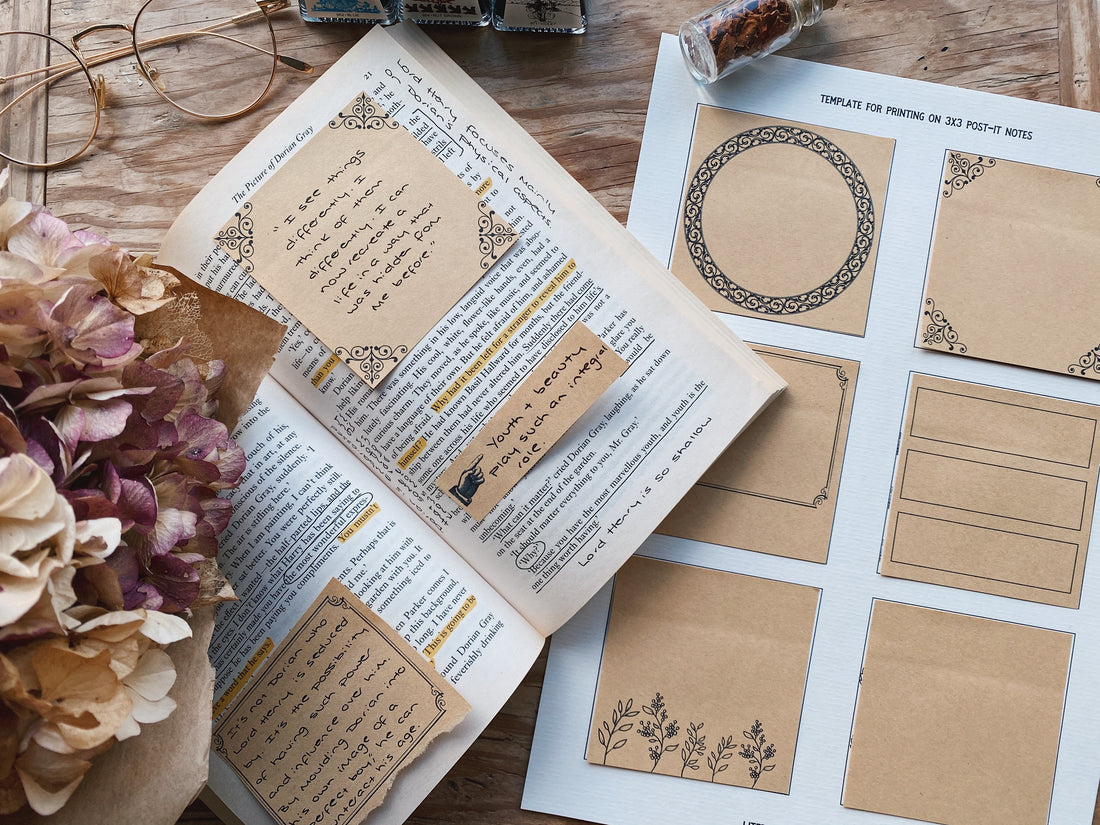
If you've ever browsed through the 'book aesthetic' feed on Pinterest I'm sure you will have seen image after image of beautifully annotated books. Even Instagram and TikTok are filled with videos on how to annotate books. I think it's safe to say that book annotation is having a moment.
Most annotators use tools such as pens, pencils and aesthetically muted highlighters to emphasise key moments and write down their thoughts. However, some need a lot more space than a margin to convey their thoughts, or perhaps they're not fans of actually writing in their books. That's where Post-it Notes come in!
The humble Post-it adorns many a page of heavily annotated novels. You can get them in so many colours nowadays that they have become a bit of a staple in the lives of students, book lovers, businesses and even busy mums!
How to print custom designs onto Post-it Notes
All you have to do to get beautiful custom sticky notes is just stick the Post-its on a sheet of paper and feed them through your printer. The easiest way to do this is to download my free printable template that shows you where to place the Post-it notes on the paper so that any design you want to print will match up.

Step 1 – Download and print the template
Right click the image below and press "Save As", then just print on your home printer.
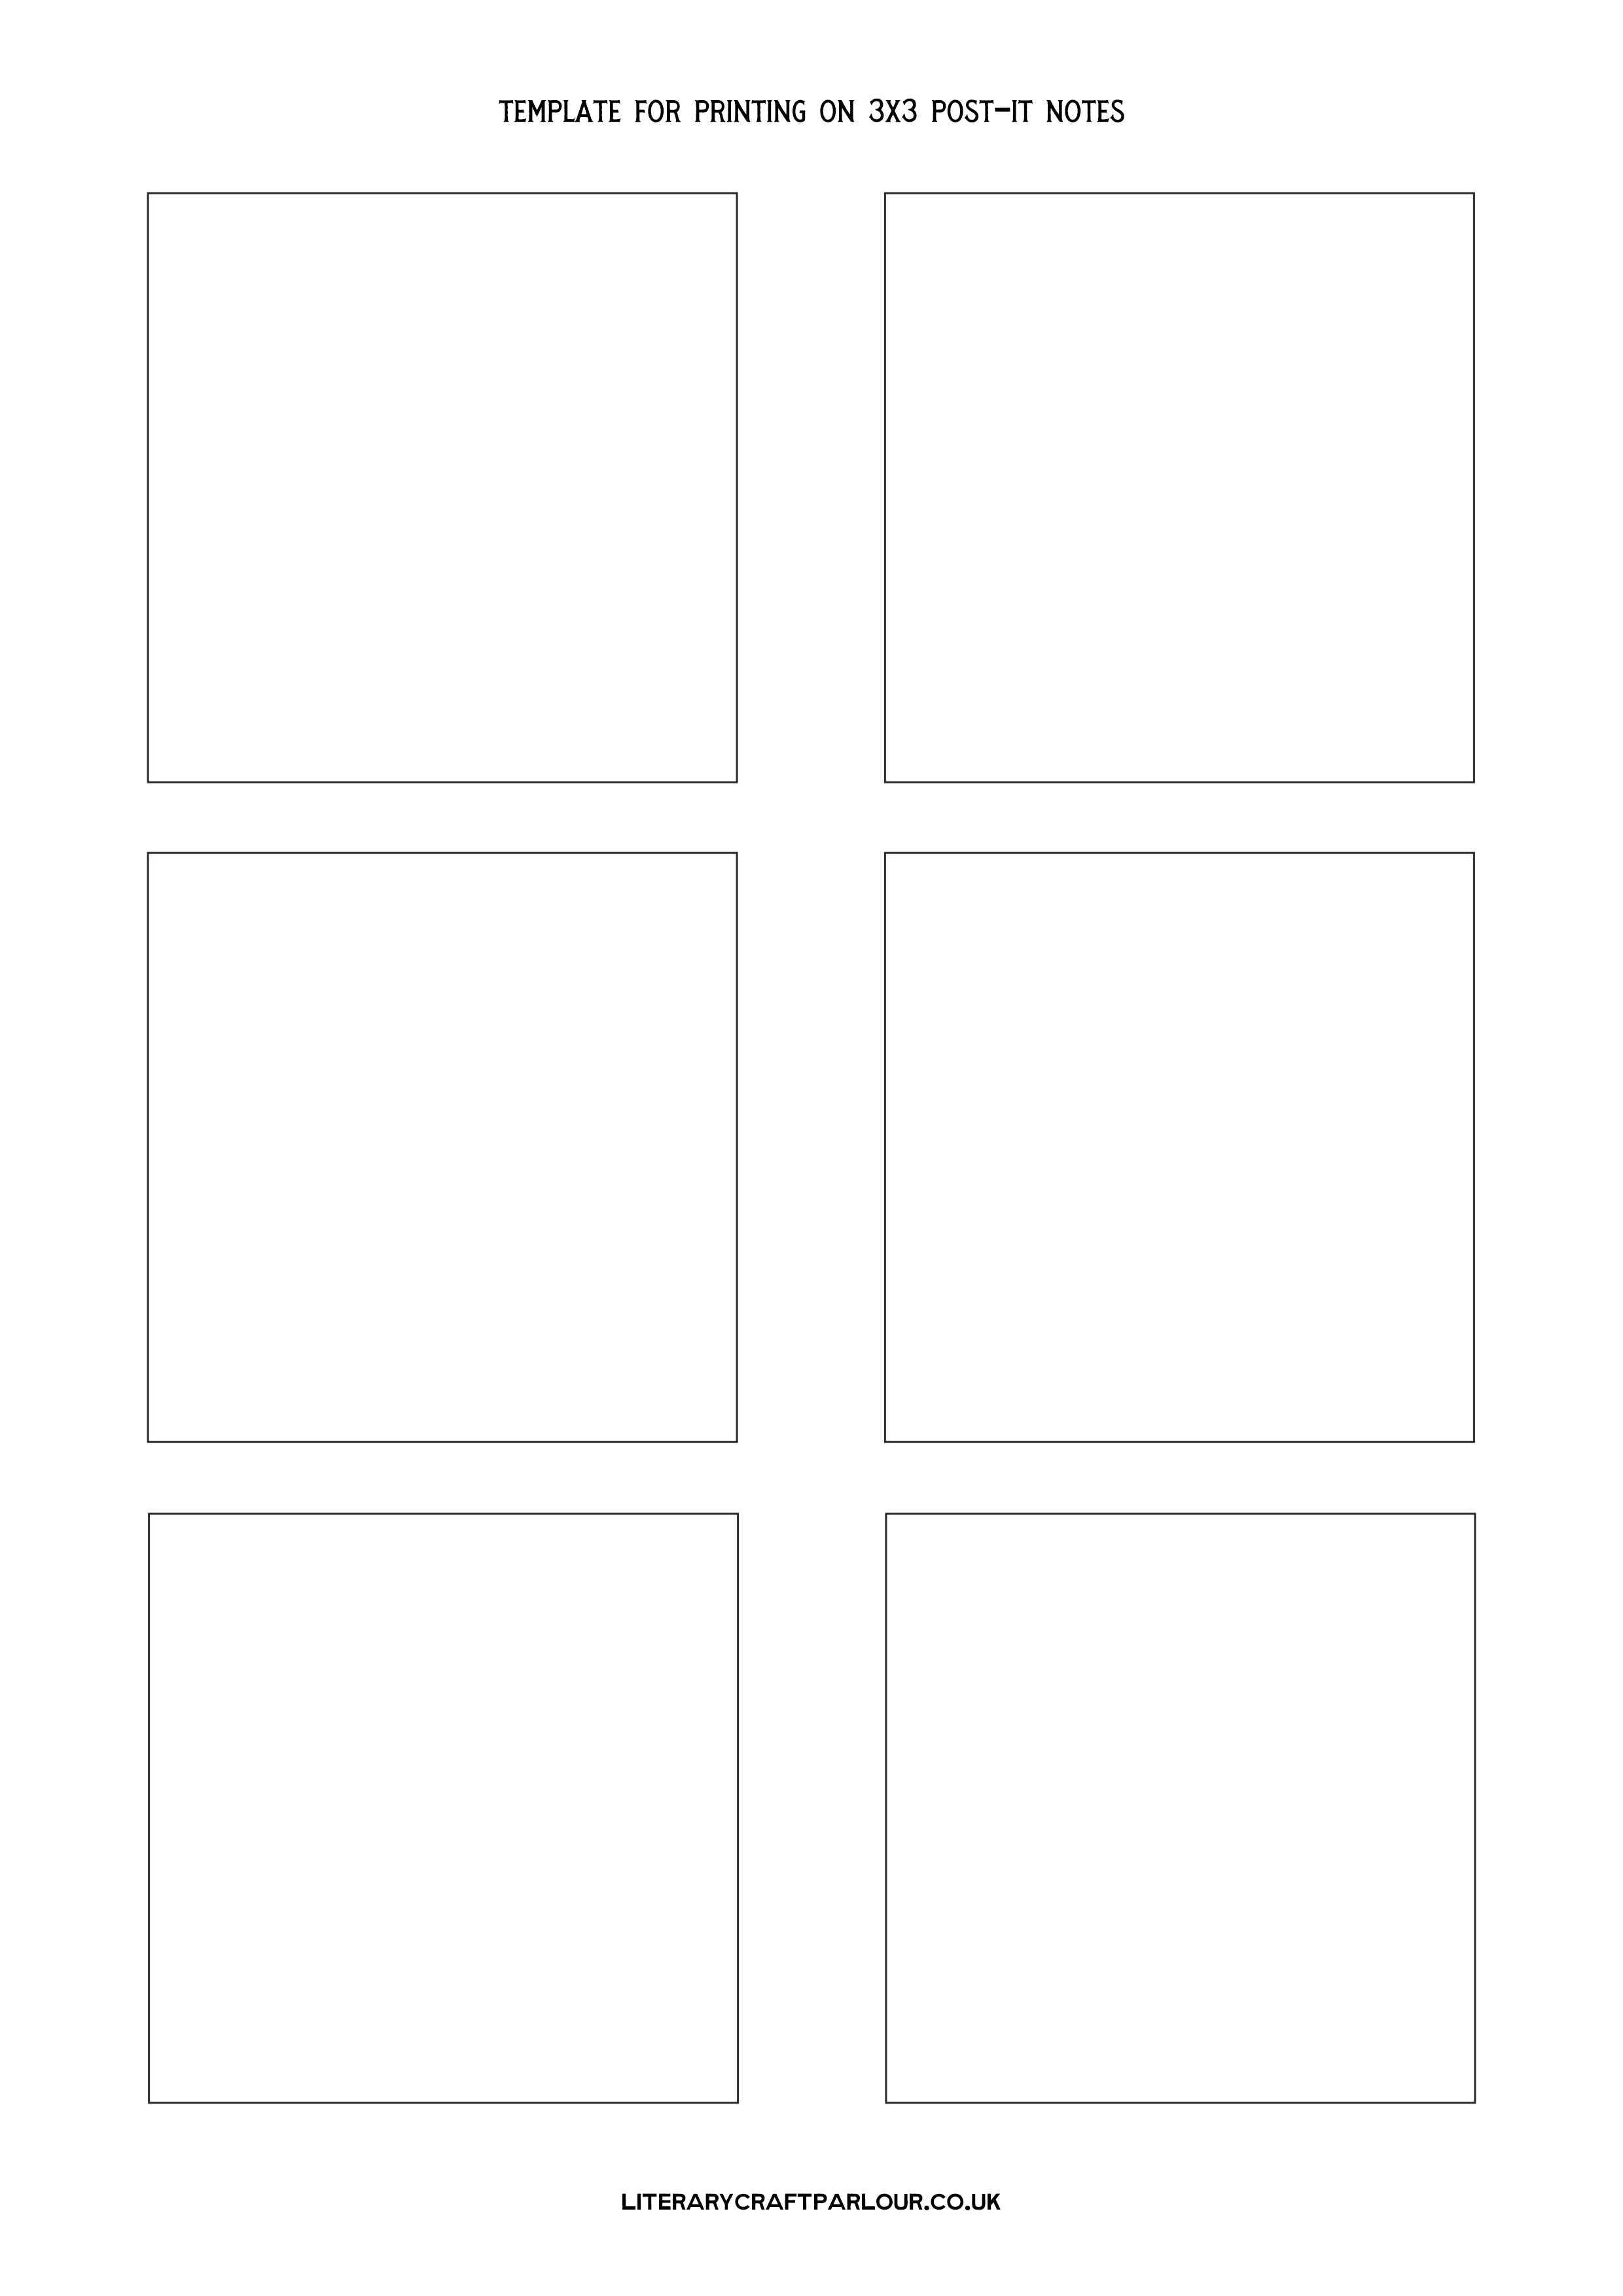
Step 2 – Stick the Post-it Notes on the page
Take your freshly printed template and stick the Post-its on the 6 spaces provided.

Step 3 – Create your design or text
Create a design or write some text on your computer. The best way to make sure it aligns with the Post-its when printed is to simply load the same template you just printed into a program like Word or Photoshop. Make sure your designs stay within the lines of the boxes on the template. When you're done simply hide or delete the template so you're left with just your new designs (not the template boxes) and then print.

Step 4 – Print your designs onto the Post-its
Feed the template with the attached sticky notes into the manual feed tray of your printer. On my printer this is the rear paper feed slot but it may be different on yours. Make sure that when you feed the paper in, the sticky part of the Post-it Notes is going into the printer first. This will avoid them jamming in the printer. Depending on which way you stuck them to the template and which direction your printer prints, this may mean that you're feeding the sheet in upside down. If you're not sure which way your printer is going to print, print a test page before printing on the Post-its.

That's it!
You should now have 6 beautiful custom sticky notes which you can use however your heart desires! If you need more simply repeat this process as many times as you like.
Did you find this helpful? Let me know if you have any questions in the comments and I'll do my best to help!
